One of the classic family traditions involves the fall harvest and Halloween festivities. Of these, going to the store or the farmer’s field to pick out pumpkins is a child favorite. I have great memories of my Dad taking his 5 kids to pick out the perfect one. Alex and I have had the fortune of going to the same farm for the past 17 years to pick in the fields for our home and for a charity program we run.
For carving, here are a few tips we’ve picked up along the way to make it a little easier and fun. We’ve also attached a video sent in by Nathaniel and his son Devon. This flaming pumpkin goes into the very cool category for pumpkin adventures. He wrote in that his secret is a roll of toilet paper and kerosene. I’d make sure your homeowner’s policy is up to date!
- For bigger cuts, use a drywall saw. It cuts right through and is safer than gutting with a big kitchen knife.
- We like to thin out the inside by scrapping some of the meat out with a sturdy spoon or ice cream scoop. This helps with making more detailed patterns.
- There are great carving kits out there that make the finer cuts a whole lot easier. They also come with a variety of templates for carving and an assortment of designs. Just pin it on and punch holes with a pin through the pattern. If you make a mistake and cut something off, toothpicks work great for reattaching parts.
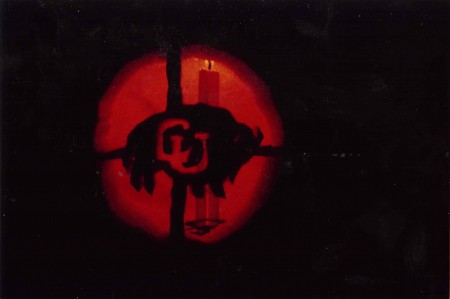
- For more unique designs, you can make a pattern out of just about any design or picture. Just photocopy it and pin it on. Our favorite designs have been sports logos and mountain scenes. Not to mention a great Darth Maul several years ago.
- For eyes and stars, try drilling a small hole in your pumpkin and putting a marble in it. The candle will send light through it for glowing effects.
- Once finished, try coating the inside cuts with Vaseline if you live in a dryer climate. This will help your design last for several days.
For costume adventures, it’s a whole lot of fun to do a theme with your kids and march around the school parade or neighborhood.

